
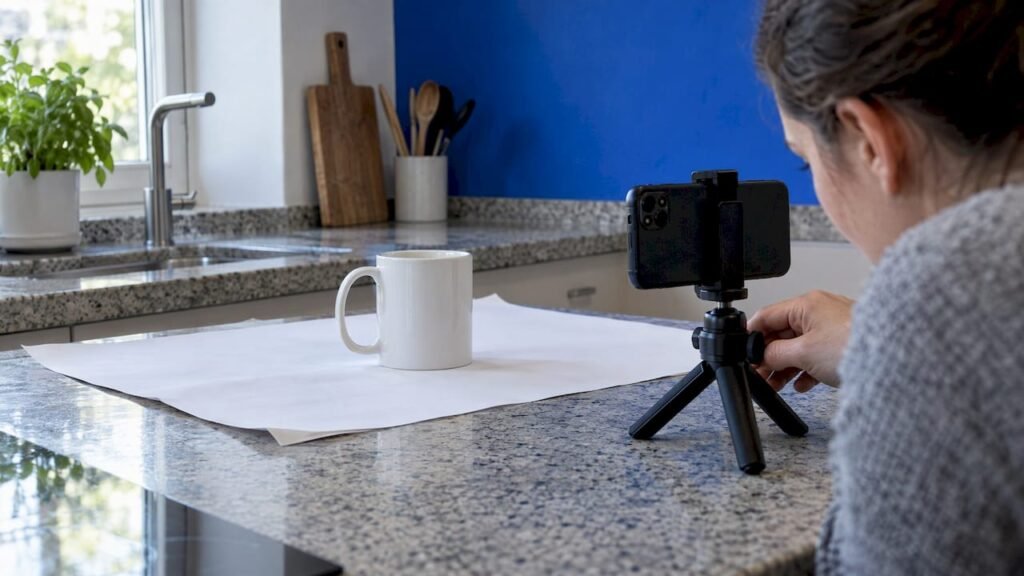
You can make usable product images with AI from a single clean photo of the item. The method that works keeps your real product untouched and lets AI change only the scene around it: the background, light, props and crop. That gives you lifestyle shots, ad variants and mockups in minutes. It also keeps the label, color and shape the buyer sees matching the thing they receive.
If you promote products as an affiliate, sell your own, or run ads for either, this guide walks through the three image types, a step-by-step workflow, prompts that hold up, and a review routine to run before anything goes live.
TL;DR
- Start with one clean, evenly lit photo of the product. Everything else is built from it.
- Use AI to change the scene, not the product. Labels, seams, colors and dimensions are where AI images fail.
- Keep a real, plain-background main image. Use AI for gallery slots, ads, email, social and banners.
- Write prompts in a fixed order (scene, subject, details, constraints) and reuse them across products.
- Review every image at full size before publishing: text, edges, shadows, resolution.
Table of Contents
- What “AI product images” actually means
- Where AI images belong, and where a real photo still wins
- How to generate a product image with AI, step by step
- Prompts that keep the product accurate
- Making lifestyle images that look real
- AI product mockups for marketing and affiliate content
- The review checklist before you publish
- Our take on AI product images
- Put it into a workflow
- FAQ
- Sources
What “AI product images” actually means
The phrase covers three things that people mix up, and knowing which one you need saves a lot of wasted generations.
A packshot is the product alone, usually on white, so nothing competes with the object. A lifestyle image puts the same item in a setting, such as a mug on a sunlit counter or a shoe on wet asphalt, and the setting does the persuading. Most catalogs need packshots for listings and lifestyle images for advertising and social. A mockup is a composed image showing a real product in a context that was never photographed. It can be a design printed on a shirt, a package on a shelf, or a device on a desk.
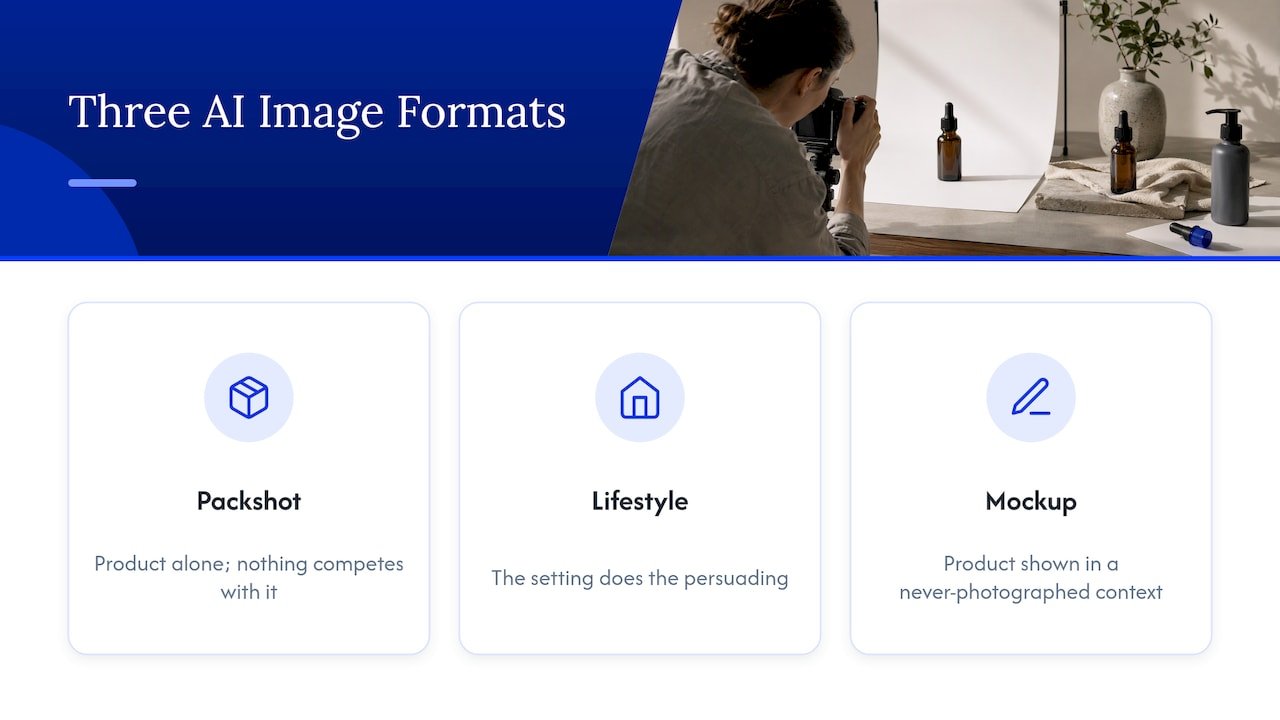
There are also two ways AI builds these. In the first, the model regenerates the whole scene from a text description. In the second, it keeps your actual product photo intact and builds only the environment around it. The second is the safer choice for selling, because shoppers buy the object in the photo.
Three jobs, three kinds of image
One way to think about it: the packshot tells people what the product is. The lifestyle shot answers how big it is, how people use it and what kind of home or wardrobe it belongs in. The mockup lets you test and scale. If you are creating hero images for a landing page, product-detail images, or lifestyle scenes, the formats differ in purpose, and this overview of landing pages for ecommerce SEO is a good companion for deciding where each one earns its place.
Where AI images belong, and where a real photo still wins
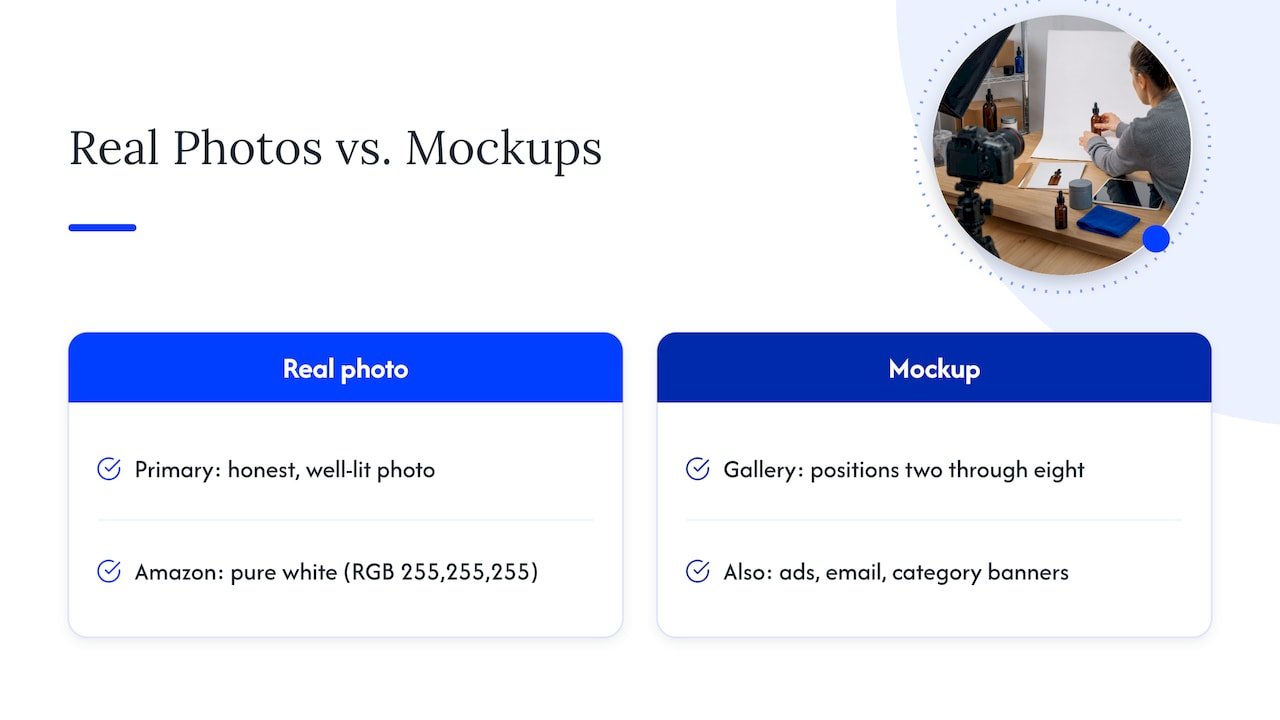
Here is the rule that prevents most account headaches. A mockup is not a substitute for one honest, well-lit photo of the item as it ships. Amazon, Shopify and Etsy all expect a plain-background primary image that is real, while mockups earn their place in gallery positions two through eight, in ads, email and category banners.
For Amazon in particular, the main image requirements include a pure white background (RGB 255,255,255), with the product filling most of the frame and no props, text or logos. Check Amazon’s own image guidelines for the current numbers before you export, since marketplaces update them.
A complete listing usually runs seven to nine images in a deliberate order: hero first, lifestyle second, then feature callouts, a scale reference, a detail close-up, an alternate angle and so on. AI is very good at multiplying those secondary roles from one source photo. That is the practical win for small sellers and affiliates: you get a full set without booking a studio.
If you are an affiliate, the same logic applies to your review pages, comparison tables, email and social posts. Use the merchant’s approved images where the program requires it, and use AI scenes for your own creative, such as ad variants and banners. Rules on image use vary by program, so read the brand’s guidelines first.
How to generate a product image with AI, step by step
This is the workflow I would hand a friend starting out. It works whether you use a general image model or a dedicated product-shot tool.
Step 1: Shoot or collect a clean source photo
Your output can only be as good as your input. Good source photos keep the whole product in frame, use even lighting without hard reflections, sit on a plain background and show fine details like stitching or printed text. A phone shot near a window, with a white sheet behind the item, is plenty.
If you promote someone else’s product, you need the right to use the reference image. Affiliate and ad use is generally fine when you hold rights to any reference images you upload, avoid infringing trademarks and follow platform and brand guidelines.
Step 2: Isolate the product
The cleanest pipelines cut the product out first, with a clean edge, and generate everything else around it. One documented pipeline runs cutout, then an optional shadow, then output as a packshot or a lifestyle scene, and offers a setting that pastes the original product back pixel-exact to protect small label text or logos. The idea behind it is worth copying whatever tool you use: the real pixels of the product should survive.
Step 3: Describe the scene, not the product
With Adobe’s product shot generator, you upload an image and prompt for the product, angle, lighting and background. You can ask for an overhead view with soft shadows or a 45-degree angle, and use a reference image to anchor the look.
A simple three-part formula keeps scenes consistent: a surface, a light source and at most one prop. For example: “white marble counter, soft window light from the left, a folded grey towel.” Because it is plain text, you can run the same line across every product in a catalog and the set looks like one shoot.
Step 4: Generate variations, then select
Do not judge a prompt on one output. Generate several, pick the best and discard the rest. A practical marketing pass is to generate three to five directions for the same product to see which angle looks clickable, build the full set once one wins, then apply that winning look to other products.
Flat lays are the forgiving format to begin with: camera straight down, a plain surface, two or three props, no people. Lifestyle scenes with hands or people take more attempts, around four to eight variations, because hands, scale and occlusion are where image models still break.
Step 5: Finish and export
Generation resolution rarely matches what a store needs, so finish with an upscale pass. As a reference point, one quality checklist suggests a minimum of 2000 px on the long edge, with Amazon recommending 2560 px. Match your final size to the platform you publish on.
Prompts that keep the product accurate
OpenAI’s image prompting guide gives a pattern you can reuse. It recommends structuring prompts as scene, then subject, then key details, then constraints. It also suggests using camera and composition terms such as lens and lighting rather than vague quality words, quoting any literal text exactly, and, for mockups, prioritizing clean edges and label integrity with only light polishing and a subtle contact shadow.
Here is how that looks in practice for a stainless steel water bottle:
Scene: a sunlit kitchen counter, shallow depth of field, soft morning window light from the left. Subject: the bottle from the reference photo, unchanged. Details: one folded linen napkin beside it. Constraints: keep label text, logo, color and proportions exactly as in the reference; no extra objects, no added text.
That last line matters most. Constraints are where you tell the model what must not move.
Three prompt habits worth building
First, give the model the facts it cannot see. Dimensions, materials and colors from the product page help it avoid guessing. Second, keep prompts short and concrete: background, lighting, mood. Third, ask for a different angle in each prompt (“slightly angled view on a polished wooden desk,” “extreme close-up of the stitching”) rather than one overloaded request.
Making lifestyle images that look real
Buyers decide by imagining the product in their own life, so context converts. Floniks suggests three to five scene variants per product, covering indoor and outdoor, aspirational and practical, and seasonal settings. The more contexts you cover, the more people the imagery speaks to.
The risk is the opposite side of the same coin. A subtly distorted product can make a shopper feel misled even if they cannot say what is wrong, which is why poor results that change proportions, lighting or the product itself get noticed.
Why composites look fake, and how to fix them
When you drop a cut-out product into a scene, four things give it away:
| Giveaway | What it looks like | What to do |
|---|---|---|
| Edge | Halos or hard cut lines, especially on glass, mesh or loose fibers | Zoom in, ask for clean edges, retouch |
| Light direction | Product lit from the left in a scene lit from the right | State the light direction in the prompt |
| Perspective | A straight-on packshot sitting on a counter seen from above | Match camera angle to the scene |
| Shadow | A soft grey blob that reads as a sticker | Add a tight contact shadow |
The fix for most of these is to state the light direction in your prompt and keep the camera angle consistent with the source photo.
AI product mockups for marketing and affiliate content
Mockups shine where you need many versions fast. Think ad variants, seasonal banners, email headers, a packaging update, or the same scene with five colorways. One approach keeps the scene intact and swaps only the product inside it, which suits packaging updates and testing multiple SKUs in a controlled setup.
For pre-launch campaigns or content before you have stock, mockups let you share sneak peeks and build social content quickly. Keep lighting consistent across the set, use neutral backgrounds for product pages and export high-resolution files for ads.
A practical stack for an affiliate: one winning scene style, reused across every product you review, tested in an ad or thumbnail against your current image. If thumbnails are your main use, our YouTube thumbnail workflow shows how to build them with AI. If you want to compare image models first, start with our roundup of the best AI image generators. Once you have two image versions, our walkthrough of AI split testing shows how to find out which one earns the click.
The review checklist before you publish
The loop for anything customer-facing is simple: AI generates, a human reviews, a human approves. Read brand-name spelling, net weights, volumes, ingredients and claims character by character, because image models occasionally introduce small variations in longer label copy.
Work through these gates for each image:
- Silhouette and label. Compare against the real item. Packaging text and logos are the most common failure, so mask them in post or use a real photo as the conditioning reference.
- Background. Zoom to 200% on all four corners and look for stray pixels or fringing.
- Consistency. Across colorways, shadow length, background tone and angle should match.
- Resolution. Check the platform’s minimum, and look into files under 1 MB for compression artifacts.
There is one more test: does any prop imply something the buyer does not get? A lifestyle image stays compliant only if the product layer is untouched and nothing in the scene suggests extras that are not included. A mockup stops being a usable ecommerce asset the moment it changes label text, typography, packaging geometry or brand colors.
Commercial use and licensing
Check the terms of your tool before using output in ads or listings. For example, Adobe states that its first commercially released Firefly model was trained on Adobe Stock, openly licensed and public-domain content and is designed to generate images safe for commercial use. Whatever you use, read the plan’s commercial terms, make sure you have rights to every reference image, and follow each marketplace’s and brand’s image policy.
If you sell across borders, remember that images are only half a listing. Text on the page also needs to work in the buyer’s language, which is why many sellers look at translating product descriptions alongside new imagery.
Our take on AI product images
We come at this as people who teach. After years of coaching, the pattern we keep coming back to is that tools are easy and routines are hard. Anyone can type a prompt and get something shiny. What separates images that earn clicks from images that quietly cost you trust is a small, repeatable process.
So we keep it simple: one clean photo, one scene formula, a handful of variations, a human check, and a note of what performed. Treat AI as a way to get more useful versions of an honest product photo, not as a way to invent the product.
That mindset is what we teach at Will Buckley’s site: practical, AI-driven habits that save you time without cutting the corners your audience can see. Start small, with one product and one scene, and build the routine from there.
Will
Put it into a workflow
Images are one piece of a bigger system. If you want ready-to-run recipes that connect creative, content and tracking, our AI affiliate workflows guide lays out steps you can follow this week, and we share more practical tips, tutorials and tool recommendations for affiliate marketers on our site.

If you are just starting out, our 30-day beginner plan for AI affiliate marketing shows where image work fits in the first month.
FAQ
Can I use AI-generated product images as my main listing image?
Only if the image is a faithful, plain-background depiction of the real item. Major marketplaces expect a real, plain-background primary image, so keep a genuine photo for position one and use AI scenes for gallery slots, ads and social. Always check the marketplace’s current image policy.
How do I stop AI from changing my product’s label or color?
Anchor the generation to your real photo and state in the prompt that the label, logo, color and proportions stay unchanged. Use a method that keeps the product pixels and only builds the background, then compare the result with the real item before publishing.
How many images should one product have?
A full listing typically runs seven to nine images, starting with a white-background hero and a lifestyle shot. For ads, generate three to five scene variants and keep the one that performs best.
Are AI mockups safe for affiliate and ad content?
Generally yes, provided you have the rights to any reference images you upload, avoid trademark infringement and follow the platform and brand rules. Review every image so the product shown matches what the buyer receives.
Sources
- Adobe: product shot generator
- OpenAI: image prompting guide
- Adobe: Firefly training data FAQ
- Product shot editing best practices
- AI product mockups for ecommerce
- AI lifestyle product photography at catalog scale
- Compliant AI product images
- Ecommerce product photography playbook
- Image-to-image source photo guide
- AI lifestyle photo generators compared
- Using AI for product photos
- AI product mockup generator for sellers
- AI photoshoot modes
- AI product mockup guide
- AI images for affiliate marketing
- Product mockups with GPT Image 2